

Key Takeaways
- Most paint failures trace back to surface prep skipped or rushed, not paint quality.
- Cleaning walls before priming removes contaminants that prevent paint from bonding.
- Patching and sanding must happen before primer, not after.
- Primer is not optional on bare drywall, stained surfaces, or dramatic color changes.
- Taping and protecting adjacent surfaces saves more time than it costs.
Why prep determines how paint performs
Walk through any freshly painted room and you can usually tell whether the painter prepped the walls. Peeling edges, visible patches, blotchy sheen, and color that looks uneven in raking light are all signs that the surface was not ready when the roller touched it. The paint itself rarely causes these problems. The steps before it do.
Preparation is not about being thorough for its own sake. Each step solves a specific failure mode. Skipping one does not save time overall: it usually adds a repainting job a year later. This article walks through the steps that have the most direct effect on how your finished walls look and how long they hold up.
Start with a close inspection
Before mixing anything or moving furniture, examine every wall in good light. A work light held at a low angle, raking across the surface, reveals dips, cracks, nail pops, and texture irregularities that overhead lighting hides completely.
Note which problems you find. Hairline cracks in plaster need a different filler than a punched-through drywall hole. Nail pops, where the drywall screw or nail has pushed outward, need to be driven back in before any compound goes on. Writing down what you see and where saves backtracking once you have your tools out.
Use raking light to find surface defects before you begin any repair work
Paint magnifies surface irregularities rather than hiding them, particularly under eggshell or semi-gloss sheens. Defects missed at the inspection stage show clearly in the finished coat and require sanding back to fix.
Wash walls with TSP or a TSP substitute before applying primer or paint
Grease and airborne residue prevent paint from bonding to the surface. No primer or paint product bonds reliably to a contaminated wall, regardless of how many coats are applied.
Apply patching compound in thin, multiple coats rather than one thick application
Thick compound shrinks as moisture evaporates during curing, which creates cracks and a sunken surface. Thin coats cure fully and stay flat.
Sand patched areas to feather edges, then wipe away all dust before priming
An unsanded patch edge leaves a visible ridge that paint cannot hide. Dust particles trapped under primer create a rough texture that shows through topcoats.
Use a stain-blocking primer on water stains, smoke damage, or marker marks before painting
Standard latex paint does not seal stains: the discoloration migrates through multiple finish coats. A shellac-based or oil-based stain blocker creates a barrier that topcoats cover cleanly.
Scuff-sand or degloss existing gloss paint before applying a new coat
Gloss surfaces are too smooth for new paint to grip reliably. Without mechanical or chemical roughening, adhesion fails and the new coat peels at edges and corners.
Cleaning: the step most people skip
Paint does not bond to grease, dust, or soap residue. In kitchens and bathrooms this matters most, but living rooms and hallways collect airborne oils and grime over time as well. A wall that looks clean to the eye may still carry enough surface contamination to cause adhesion problems.
Washing walls with a diluted trisodium phosphate (TSP) solution, or a TSP substitute where local regulations require it, cuts through grease and removes loose chalk from old paint. TSP is a strong cleaner: wear gloves and eye protection, and rinse the wall thoroughly after washing. Let the surface dry completely before any other step. Moisture trapped under primer causes bubbling.
If you see dark spots that look like mold or mildew, treat those areas with a diluted bleach solution before washing. Do not paint over active mold growth: it will bleed through most paints within months.
Patching, filling, and sanding
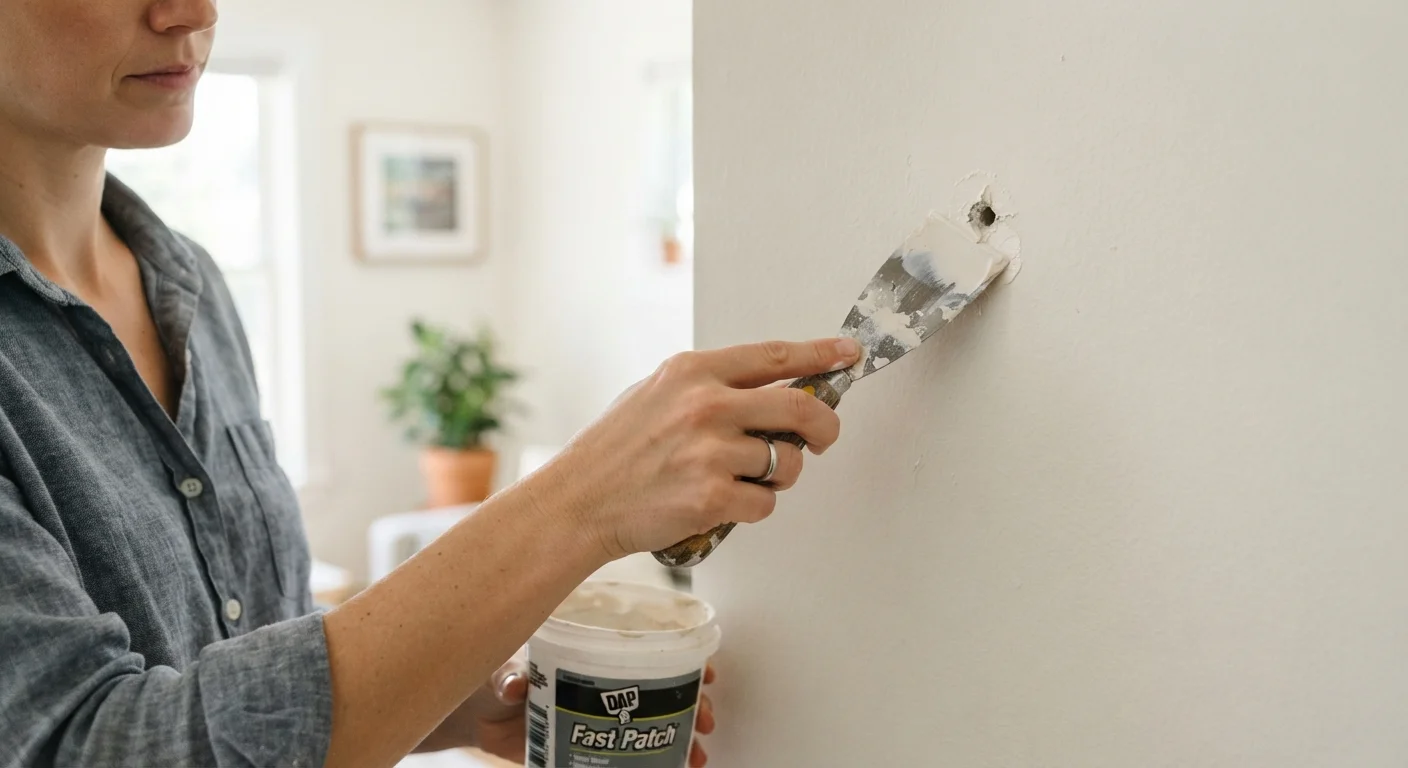
Small holes from nails or screws take lightweight spackling compound, which dries fast and sands easily. Larger holes, anything bigger than a few inches across, need a drywall patch kit or a cut-in piece of drywall backed with wood or metal. Compound alone will not support a large repair long-term.
Apply compound in thin coats rather than one thick fill. A thick coat shrinks as it cures and often cracks. Two or three thin coats, each sanded smooth before the next goes on, produce a flat, stable surface.
Sanding is where most amateur paint jobs fall apart. The goal is not to sand the whole wall, just to feather every patched area so there is no visible edge between the repair and the surrounding surface. After sanding, wipe the wall down with a damp cloth or tack cloth to remove dust. Dust under primer creates a rough, pitted texture that shows clearly under paint sheen.
For walls with existing glossy paint, scuff-sand the entire surface lightly with 120-grit sandpaper or a liquid deglosser. Paint over a gloss surface without roughening it and the new coat may peel within months.
When primer is worth the extra step
Primer is not always necessary, but there are situations where skipping it guarantees a worse result. Bare drywall, which is the paper-faced gypsum board installed during construction or after patching, absorbs paint unevenly without primer. The areas over joint compound drink paint differently than the paper-faced sections, producing a blotchy finish called flashing.
Stain-blocking primer matters when you have water stains, smoke damage, or marker bleed-through. Standard latex paint will not cover these: the stain migrates through multiple coats. An oil-based or shellac-based stain blocker seals the surface so topcoats cover cleanly.
If you are making a significant color change, especially going from a dark color to a light one, a tinted primer toned toward your finish color reduces the number of topcoats needed.
Taping and protecting the room
Painter's tape along trim, window casings, and ceiling edges saves cleanup time but works only when applied correctly. Press the edge down firmly with a putty knife or your fingernail. Tape that is not fully adhered allows paint to wick underneath. Remove the tape while the paint is still slightly wet, pulling it back at a 45-degree angle. Tape left overnight or longer can pull finish paint off trim when removed.
Cover floors with canvas drop cloths rather than plastic sheeting. Plastic is slippery and does not absorb drips, so a small spill becomes a track hazard. Canvas stays flat and absorbs splatter. Move furniture to the center of the room and cover it; even careful rollers produce fine mist that settles on surfaces several feet away.
If your walls have existing caulk at the trim line that is cracked or pulling away, replace it before painting. Fresh paint over failing caulk will open along the same crack within a season. Our guide to caulking windows and doors explains how to spot failing seals and when the job is straightforward enough to do yourself.