

Key Takeaways
- Location, microphone, and camera permissions can be restricted per app without breaking core phone functions.
- Both iPhone and Android let you review and revoke app permissions at any time from Settings.
- Ad tracking identifiers on both platforms can be limited or reset, reducing cross-app profiling.
- Lock screen notifications can expose personal messages to anyone who picks up your phone.
- Reviewing privacy settings periodically is more effective than a one-time setup.
What you will need
Why your privacy settings are worth the time
Your phone holds more personal information than most people carry anywhere else: your location history, medical notes, financial accounts, private messages, and stored passwords. The apps on your phone can access much of that data if you (or a previous version of you) granted permission.
The problem is that most permissions get approved during app setup, quickly and without much thought. Months later, those same apps may still hold access you never intended to be permanent. The settings covered in this walkthrough let you take back that control, one category at a time.
For a broader look at what those permissions actually do under the hood, this breakdown of app permissions explains what each type of access actually means in practice.
What you will need
Walking through each setting category
The steps below apply to both iPhone and Android. Menu names differ slightly by device and operating system version, but the categories are the same on both platforms.
Review location permissions for every app
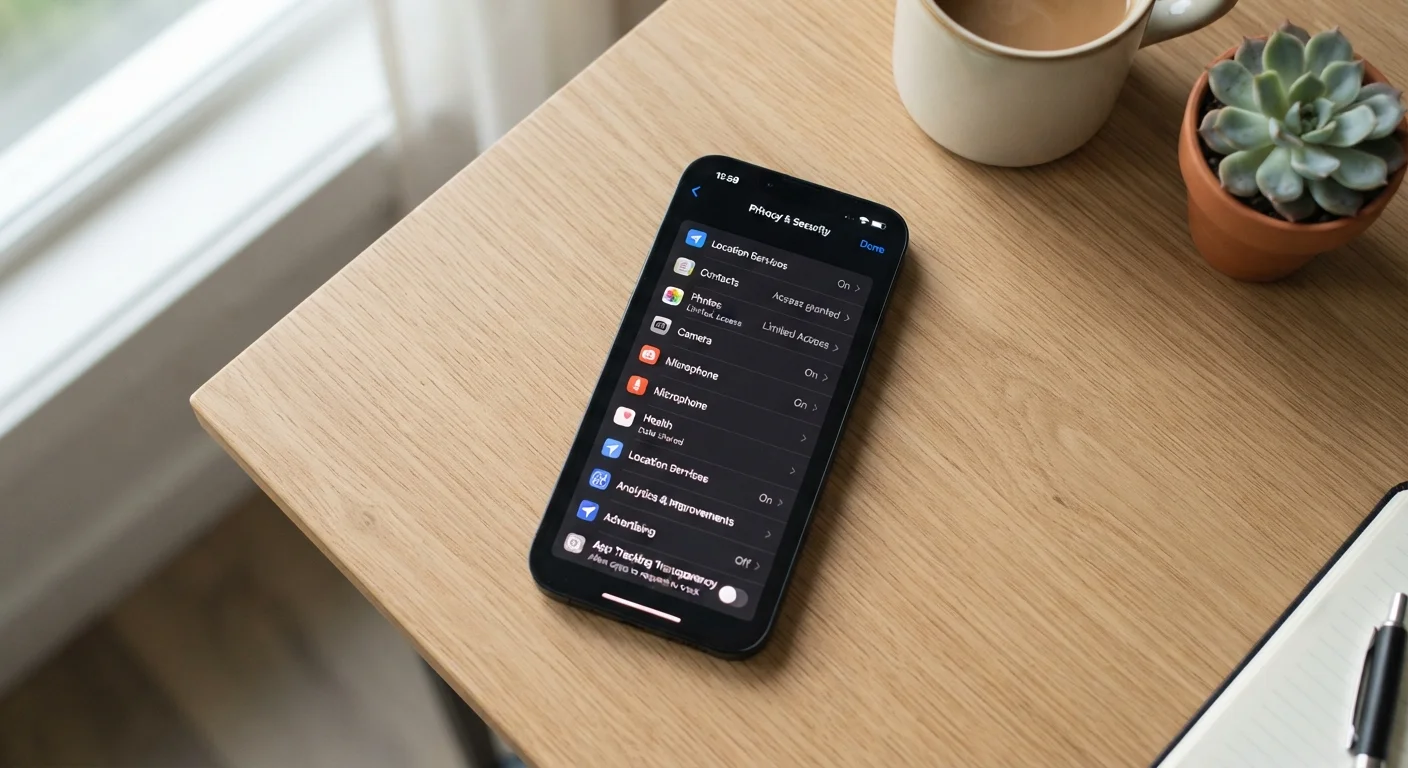
On iPhone, go to Settings > Privacy & Security > Location Services. You will see a list of every app that has requested your location. Each app shows its current setting: Never, Ask Next Time, While Using the App, or Always.
On Android, go to Settings > Privacy > Permission Manager > Location. You will see apps grouped by the level of access they hold.
For most apps, "While Using" is the right choice. Reserve "Always" only for apps where background location is genuinely useful to you, such as a navigation app you rely on heavily. Set social, shopping, and news apps to "Never" unless you have a specific reason to share your position with them.
Audit microphone and camera access
On iPhone, go to Settings > Privacy & Security and tap Microphone, then Camera separately. Each screen lists the apps that have been granted that access, with a toggle to revoke it.
On Android, open Settings > Privacy > Permission Manager and check both Camera and Microphone in the same way.
Turn off microphone access for any app that has no clear reason to record audio. A flashlight app or a to-do list does not need your microphone. The same logic applies to camera access.
Check contacts, calendar, and health data access
On iPhone, scroll through Settings > Privacy & Security to find Contacts, Calendars, and Health. Each section shows which apps can read or write that data.
On Android, find these under Settings > Privacy > Permission Manager as Contacts and Calendar. Health data access is managed within whatever health platform you use (Google Fit or Samsung Health).
Be selective. A messaging app legitimately needs contacts to help you find people. A game or a utility app does not. Revoke access for anything you cannot explain.
Limit ad tracking
On iPhone, go to Settings > Privacy & Security > Tracking. Turn off "Allow Apps to Request to Track" to block all apps from asking permission to follow you across other apps and websites for advertising purposes. You can also check which apps have already been granted tracking permission and revoke them individually.
On Android, open Settings > Privacy > Ads. Here you can opt out of ads personalization and reset your advertising ID, which breaks the link advertisers have built on your previous activity.
Control what appears on your lock screen
Your lock screen is visible to anyone who picks up your phone. On iPhone, go to Settings > Notifications and tap any app. Under Lock Screen, choose whether to show previews. Set sensitive apps (banking, messaging, email) to "When Unlocked" or "Never" so message content does not appear before authentication.
On Android, go to Settings > Notifications > Notifications on lock screen and choose "Hide silent conversations and notifications" or "Don't show notifications" depending on your preference. Per-app controls are available inside Settings > Apps > [App name] > Notifications.
Set a strong screen lock
A permission audit means little if your phone is unlocked by a four-digit PIN that anyone can guess. On iPhone, go to Settings > Face ID & Passcode (or Touch ID & Passcode on older models) and set a six-digit or alphanumeric passcode. On Android, go to Settings > Security > Screen lock and choose PIN, password, or pattern.
Avoid patterns that follow obvious shapes, and do not use birthdays or repeated digits. For extra context on securing your accounts beyond the lock screen, see how two-factor authentication works on your phone.
Check the privacy dashboard periodically
Both iPhone (Settings > Privacy & Security) and Android (Settings > Privacy > Privacy Dashboard on Android 12 and later) show a recent timeline of which apps accessed sensitive permissions. Reviewing it every few weeks takes less than two minutes and surfaces anything unexpected.
Once you have worked through this walkthrough, make it a habit to revisit these settings after installing a new app or updating your phone's operating system. Permissions can reset or new categories can appear after a major update. If you are also thinking about what happens when you eventually move on from this device, prepare your phone before selling or giving it away with a step-by-step checklist. For wider online privacy, see how to tighten your social media privacy settings as a companion step.