

Key Takeaways
- Default social media settings are often set to maximum visibility, not maximum privacy.
- You can control who sees your posts, profile details, and tagged content on most platforms.
- Revoking access from third-party apps connected to your accounts removes a common data leak.
- Turning off location data in social apps stops platforms from logging where you post from.
- Reviewing these settings every few months keeps pace with platform policy changes.
What you will need
Why default settings work against you
Social media platforms are designed around broad sharing. When you create an account, the default settings often make your profile and posts visible to everyone, allow anyone to look you up by phone number, and permit third-party apps to pull your data. Most people never change these defaults, which means personal details including your location, contact information, and daily activity are openly accessible.
That openness creates real risks. Scammers use publicly visible profiles to personalize phishing messages. Employers, landlords, and others can view content you intended for a smaller audience. Data brokers scrape public social profiles to build records they sell. None of that requires a hacker. It requires only that your settings stay at their defaults.
For a broader look at how these risks connect to other aspects of your accounts, see the complete guide to staying safe online. For common misconceptions about what privacy settings actually protect you from, online privacy myths worth correcting is worth a read before you start.
What you will need
How to lock down your settings
The steps below apply broadly across major social platforms. The exact menu names differ, but the underlying options are consistent. Work through each step for every platform you use actively.
Open your account's settings menu
On mobile, look for your profile picture or avatar, then find a menu labeled Settings, Settings and privacy, or similar. On desktop, this option is usually in a dropdown near your profile name. Each platform uses slightly different wording, but the path always starts from your profile.
Set your profile and post audience to the level you want
Look for a section called Privacy, Audience, or Who can see your content. For each category (future posts, past posts, profile photo, friends list, and similar) choose between options such as Public, Friends/Followers only, or Only me.
If your goal is to share only with people you know, set future posts to Friends or Followers only, and use the platform's bulk-edit tool to apply the same restriction to older posts. Not every platform offers a bulk tool, so you may need to adjust older posts individually.
Restrict who can find and contact you
Look for settings labeled How people find you, Discoverability, or Contact. Common options include:
- Whether people can search for you by phone number or email address
- Whether your profile appears in search engine results outside the platform
- Who can send you friend or follow requests
- Who can send you direct messages
Turning off phone and email search lookup prevents data brokers from connecting your social profile to other records they hold on you.
Manage tagging and mentions
Find a section often called Tags, Timeline review, or Mentions. Enable review before tags from others appear on your profile, and limit who can tag you to people you follow or are connected with. This stops strangers from tagging you in posts that then appear on your timeline or in search results.
Turn off location data
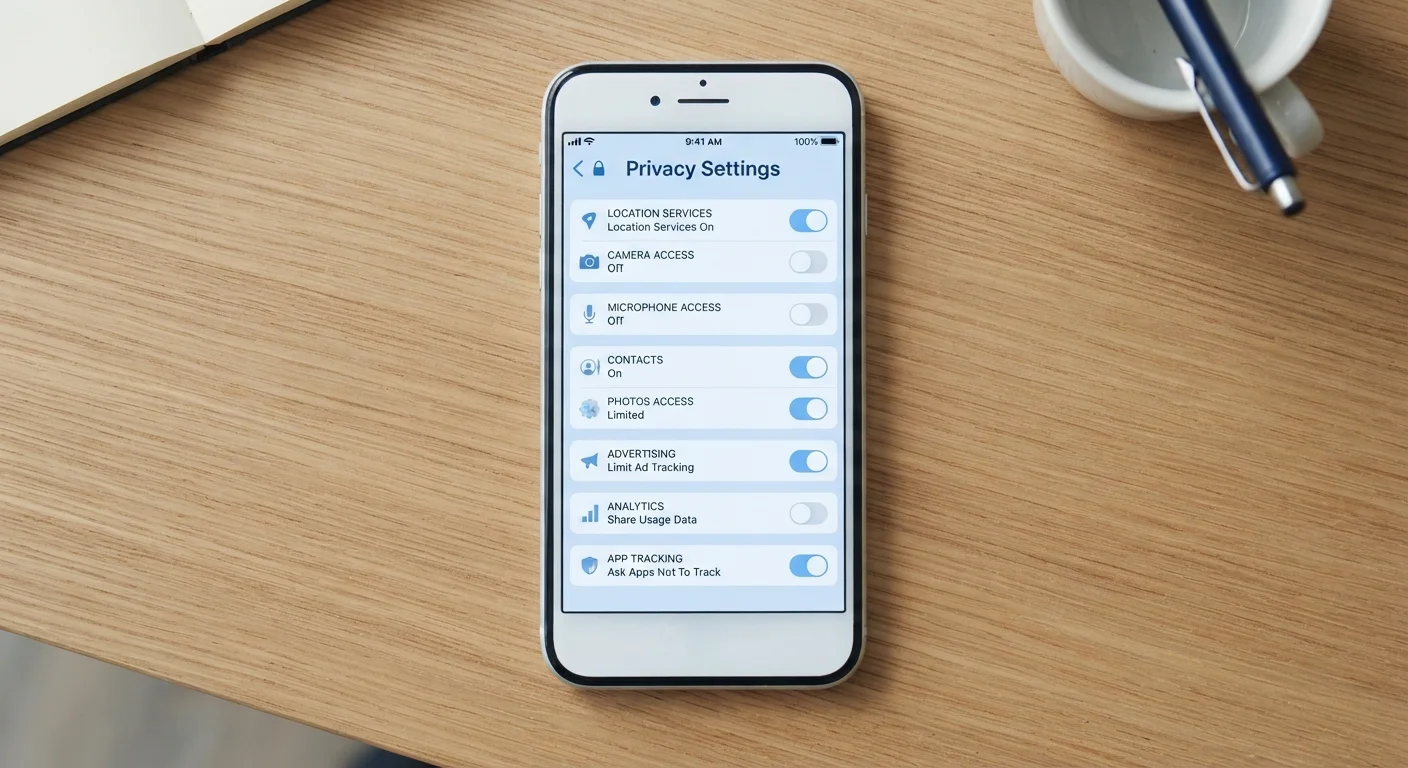
Go to your phone's system settings (not just the app's settings) and find the permissions for each social media app. Set location access to Never or Only while using the app, and then only if you actively want to share location in a specific post. Inside the app itself, also check for a location history or precise location toggle and disable it.
Many platforms store a log of every location signal your device sends while the app runs in the background. Disabling background location access stops new data from being added to that log.
Revoke access from third-party apps
Look for a section called Apps and websites, Connected apps, or Authorized apps. This list shows every service you have ever logged into using your social media account. Remove any app you no longer use or do not recognize. Each connected app can read some portion of your profile data even when you are not actively using it.
Review ad and data settings
Most platforms have a separate section for advertising preferences, often labeled Ads, Data, or Your information. Here you can typically:
- Turn off interest-based ad targeting built from your off-platform activity
- Opt out of having your data shared with advertising partners
- Download a copy of the data the platform holds on you
These settings do not stop ads from appearing, but they reduce how much behavioral data the platform uses to target them.
Check settings on every device
Privacy settings changed on a desktop browser do not always sync to the mobile app, and vice versa. After adjusting settings in one place, open the app on your phone to confirm the changes carried over. If they did not, apply them again directly in the app.
Keeping your settings current
Platforms update their privacy options regularly, sometimes adding new data-collection features that default to on. Set a reminder to revisit these settings every three to four months. When a platform announces a policy update, go directly to your privacy settings that same day rather than waiting.
Tightening your social media settings is one part of a larger picture. The account security audit checklist covers passwords, recovery options, and account activity across all your important accounts. Adding two-factor authentication is another direct step: how to set up two-factor authentication on your phone walks through the process. Your phone's own permission settings also interact with social apps: the phone privacy settings walkthrough covers those in detail.