

Key Takeaways
- Anchor each day around one major activity to prevent over-scheduling and fatigue.
- Group nearby attractions on the same day to reduce transit time and wasted energy.
- Build at least one buffer window per day to absorb delays or spontaneous detours.
- Check local holidays and opening hours before finalizing any timed activity.
- A written itinerary is a guide, not a contract; flexibility is part of the plan.
What you will need
Why most itineraries break down
The problem with most day-by-day travel plans is not ambition; it is structure. Travelers collect a list of things they want to see, then distribute those items across days without accounting for geography, travel time, or energy. The result is a schedule that looks complete on Sunday night but collapses by Tuesday afternoon.
A workable itinerary does two things well: it sequences activities logically, and it leaves space for the trip to breathe. Seasoned travelers tend to plan fewer hours per day than beginners, because they know how much time gets absorbed by transit, meals, and unexpected waits.
Before you start building days, you need four things in front of you: your confirmed dates, a map of the destination, a raw list of what you want to do, and a realistic sense of your daily spending range. If the budget piece is still uncertain, understanding where travel budgets typically break down is a useful first step.
What you will need
How to build the itinerary step by step
Follow these steps in order. Each one feeds the next, so skipping ahead tends to create conflicts you have to undo later.
Start with geography, not wish lists
Most itineraries fail because they treat a trip as a checklist rather than a route. Before you assign any activity to a specific day, look at where things are on a map. Two hours of transit between nearby-sounding neighborhoods can eat an entire morning. Group locations that sit close together, then build your days around those clusters.
List every activity without filtering
Write down every place, experience, or activity you are considering, without yet deciding what makes the cut. Include meals if specific restaurants matter to you. Do not organize the list yet; just get it down in one place.
Map the locations
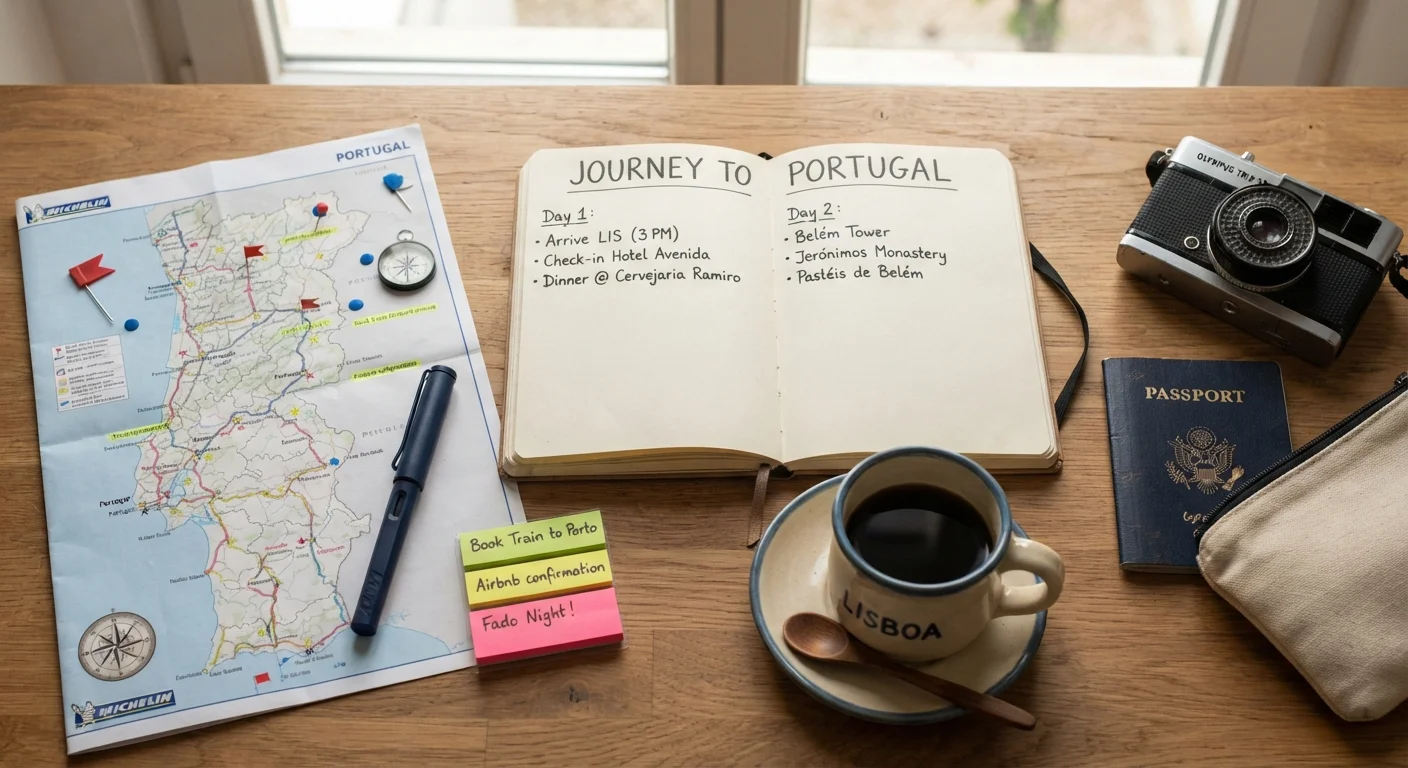
Plot each item on a map, either by pinning locations in a digital map tool or by marking a paper map. Look for clusters: groups of two or three activities that sit within walking distance or a short transit ride of each other. These clusters become the backbone of individual days.
Assign one anchor activity per day
For each travel day, choose one activity that is the priority. This is the thing that, if everything else falls through, makes the day feel worthwhile. Build the rest of the day around it, using the geographic clusters you identified in step two to fill supporting time slots.
Estimate realistic time for each day
Add up the estimated duration of each planned activity, then add transit time between them. Include time for at least one sit-down meal. A useful rule of thumb: if your total exceeds seven active hours, cut something. Most people find that six hours of active sightseeing is more enjoyable than nine rushed ones.
Check hours, reservations, and entry requirements
For every timed or ticketed activity, verify current opening hours on the official website. Confirm whether advance booking is required or strongly advisable. Note any entry requirements such as identification, age restrictions, or dress codes. Log all of this in your schedule document next to the relevant activity.
Add one buffer window per day
Mark a 60-to-90-minute window in each day with no planned activity. This slot absorbs delays, extends a visit you are enjoying, or gives you time to rest without feeling like you are falling behind. Place it in the early afternoon when energy typically dips, or at the end of the day before dinner.
Over-scheduling is the most common itinerary mistake
Fitting six to eight attractions into a single day looks reasonable on paper but rarely works in practice. Transit, queues, meals, and simple fatigue each consume more time than most people budget. A day that feels full with three or four planned stops almost always produces a better experience than one with seven. When in doubt, do less and leave room to linger.
Verify hours and closures before you finalize
Many travelers lock in a full day around a museum, market, or landmark without confirming it will be open. Local public holidays, seasonal closures, and maintenance shutdowns can shut down an attraction with little online notice. Always check the official source for each major stop, and do so within a week of departure. See how holidays and closures affect trip planning for more detail.
Making the itinerary resilient
Even a well-built plan will face pressure: a delayed flight, a restaurant that is closed, weather that makes an outdoor site impractical. The itineraries that survive disruption are the ones built with deliberate slack.
One practical method is to keep a short list of low-commitment backup options for each day, such as a nearby cafe, a covered market, or a walkable neighborhood with no entry requirement. These are not filler; they are insurance. You may never use them, but having them prevents a single closed attraction from collapsing the entire day.
For trips that cross multiple time zones, confirm that any advance bookings reflect local time at the destination, not your home time. A guide to time zone offsets and scheduling can help you avoid booking errors that are easy to make and hard to fix mid-trip.
For a deeper framework on structuring trips so that disruptions do not cascade, building flexibility into your itinerary covers the practical mechanics in full. Packing considerations that support a day-by-day approach, such as carrying what you need for a long touring day versus a rest day, are covered in the packing and prep hub.