

Key Takeaways
- Most perennials benefit from division every 3 to 5 years to maintain healthy growth.
- Early spring and early fall are the two best windows for dividing most perennials.
- Sharp, clean tools reduce damage to roots and lower disease risk.
- Divided sections need consistent moisture for several weeks after replanting.
- Crowded centers with dead patches are a reliable sign that a plant is ready to divide.
What you will need
Why perennials need dividing
Perennials spread outward each year as new growth forms at the outer edges of the crown. Over time, the center of the clump becomes crowded and woody, often dying out entirely while the outer ring continues to grow. The result is a plant that looks thin, blooms less, or develops a hollow doughnut shape.
Division breaks this cycle. Removing the declining center and replanting vigorous outer sections resets the plant's growth and can restore bloom quantity within a single season. It also controls spread, which matters for aggressive growers such as bee balm or Shasta daisy that can crowd neighboring plants if left unchecked.
Most perennials benefit from division every 3 to 5 years, though some, like hostas, are slower to exhaust their centers and can go longer. A plant that blooms less than it used to, flops where it once stood upright, or shows a dead patch in the middle is telling you it is ready.
Sharp spade or garden fork
Cuts through and lifts dense root clumps cleanly with minimal tearing.
Hand pruners or old serrated knife
Separates smaller or tightly matted root sections that a spade cannot cleanly split.
Bucket of water
Keeps divided sections hydrated while you prepare planting holes.
Compost
Amends planting holes to give divisions a nutrient-rich start.
Garden gloves
Protects hands from sharp tools and soil-borne irritants.
How to divide perennials
Follow the steps below in sequence for the best results. The process takes 30 to 90 minutes depending on the size and number of clumps you are working with.
Choose the right time of year
For most perennials, the two reliable windows are early spring, when new growth is just emerging, and early fall, about 4 to 6 weeks before the first expected frost. Both periods allow roots to establish before temperature extremes arrive. Spring-blooming plants such as primrose or bleeding heart are better divided in fall; summer and fall bloomers such as black-eyed Susan or coneflower are easier to handle in spring. See the seasonal garden prep guide for timing reference by task.
Water the plant the day before
Thoroughly water the clump 24 hours before you plan to divide. Moist soil clings to roots rather than crumbling away, and hydrated plants tolerate the process better than dry ones. This single step reduces the shock a plant experiences when its root mass is cut.
Dig up the entire clump
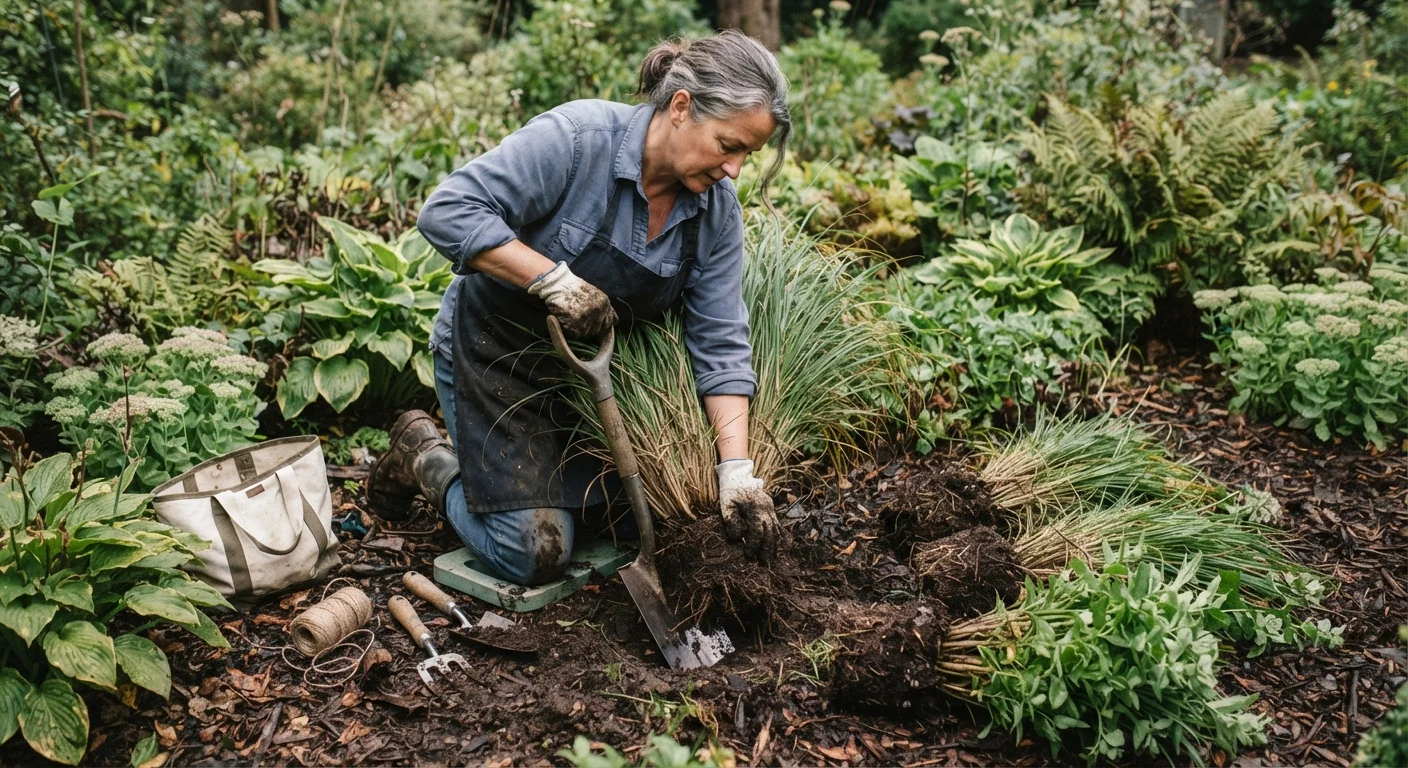
Push your spade or garden fork straight down in a circle around the plant, about 6 inches beyond the outermost stems. Work the tool under the root ball and lever it upward. For large clumps, insert the fork from multiple sides to loosen the root mass before lifting. Set the clump on a tarp or bare soil nearby so you have room to work.
Separate the clump into sections
Examine the root mass. The outer edges typically hold the youngest, most vigorous growth; the center is often woody, hollow, or already dead. Discard or compost the center and work with the healthy outer portions. For loose clumps such as daylilies, pull sections apart by hand. For tight, fibrous clumps such as ornamental grasses, use two garden forks inserted back-to-back and pry the handles apart. Very dense crowns may need a sharp knife or spade to cut cleanly. Aim for divisions that each have at least 3 to 5 healthy shoots or growth buds and a reasonable root mass.
Replant divisions promptly
Do not let divisions sit exposed to sun and wind for more than 20 to 30 minutes. Prepare holes slightly wider than each root section and mix in compost if your soil drains poorly or lacks organic matter. The guide to building better garden soil covers amendments worth considering before replanting. Set each division at the same depth it grew before; planting too deep is a common mistake that causes crown rot. Firm the soil around the roots and water in well.
Water consistently for the first several weeks
Newly divided perennials have a reduced root system and cannot pull moisture from a wide area. Water every 2 to 3 days for the first 3 to 4 weeks, or more frequently during dry or warm spells. Once you see new growth pushing up, the plant has begun establishing and you can scale back to your normal watering schedule. Applying a 2- to 3-inch layer of mulch after planting helps retain soil moisture between waterings. See the mulching guide for details on types and application depth.
Sterilize tools between plants
Fungal and bacterial diseases spread through contaminated blades. Before moving from one clump to the next, wipe cutting edges with a diluted bleach solution (1 part bleach to 9 parts water) or isopropyl alcohol and let them air-dry briefly. This takes less than a minute and prevents spreading problems across your entire bed.
Give away what you cannot plant
Dividing a mature perennial can yield 6 to 10 new sections. If your garden does not have room for all of them, pot up extras in containers and offer them to neighbors or a local plant swap. This is a practical way to share plants without spending money on new ones, as noted in the transplants vs. seed-starting comparison.
What to expect after dividing
Some perennials look rough for a week or two after division. Foliage may wilt or yellow slightly while the plant redirects energy to root repair. This is normal and does not mean the division has failed. Consistent moisture is the single most important factor in recovery.
Divisions replanted in fall may not show much top growth before winter, but roots continue to develop underground until the soil freezes. These plants typically emerge in spring with full vigor. Spring divisions usually show visible recovery within 2 to 3 weeks as temperatures warm.
If you are working to improve the overall health of your beds alongside this process, the soil improvement guide and the seasonal garden prep checklist are practical companions for planning the rest of your garden maintenance calendar.
What you will need