

Key Takeaways
- Starting with a single room prevents the paralysis that comes from tackling the whole house at once.
- Sorting items into keep, donate, and discard piles before organizing stops you from rearranging clutter.
- High-traffic rooms like kitchens and entryways deliver the most noticeable and lasting impact first.
- Bedrooms and bathrooms are good starter rooms because they are smaller and more personal in scope.
- Decluttering before buying storage containers avoids spending money on bins you may not need.
What you will need
Why room-by-room works better than a whole-house push
Attempting to declutter an entire house in a single weekend usually stalls. The volume of decisions becomes fatiguing, and partially sorted rooms can feel worse than when you started. Working room by room gives you a clear start and end point, and each finished room provides visible proof that the process is working.
There is also a sequencing benefit. Organizing before decluttering usually backfires because you end up with neatly arranged items you do not actually need. The room-by-room method forces a sorting decision before any organizing happens, which produces more durable results.
A realistic first session takes 30 to 90 minutes depending on room size and how long you have been accumulating. That time estimate covers one room completely, not the whole house.
What you will need
What you will need
The tools for decluttering are minimal. The most important are physical containers to separate items as you sort them. Labels prevent confusion when you step away and return later.
Sorting containers (boxes or bags)
Hold items as you sort them into keep, donate, and discard categories.
Sticky labels or masking tape
Mark containers and shelf zones so sorted items stay in the right place.
Notepad or notes app
Track items you want to replace, repair, or research donating responsibly.
Timer
Set focused work sessions, such as 20-minute blocks, to maintain momentum.
How to declutter each room
Choose one room and commit to finishing it
Pick the room where clutter bothers you most, or the smallest room in the house if you want a quick win. Commit to finishing that room before moving to another. Partial progress in five rooms at once leaves the house feeling chaotic and makes it hard to see results.
If you have never approached home organization before, the plain-language intro to home organization explains the core concepts worth knowing before you start.
Pull everything out of its storage spot
Before sorting, remove items from drawers, shelves, and closets so you can see the full volume of what is there. This step often produces the most motivation: seeing everything in one place makes it easier to identify duplicates and items you forgot you owned.
Work one section at a time. Empty one drawer, sort it, then move to the next rather than pulling out the entire room at once.
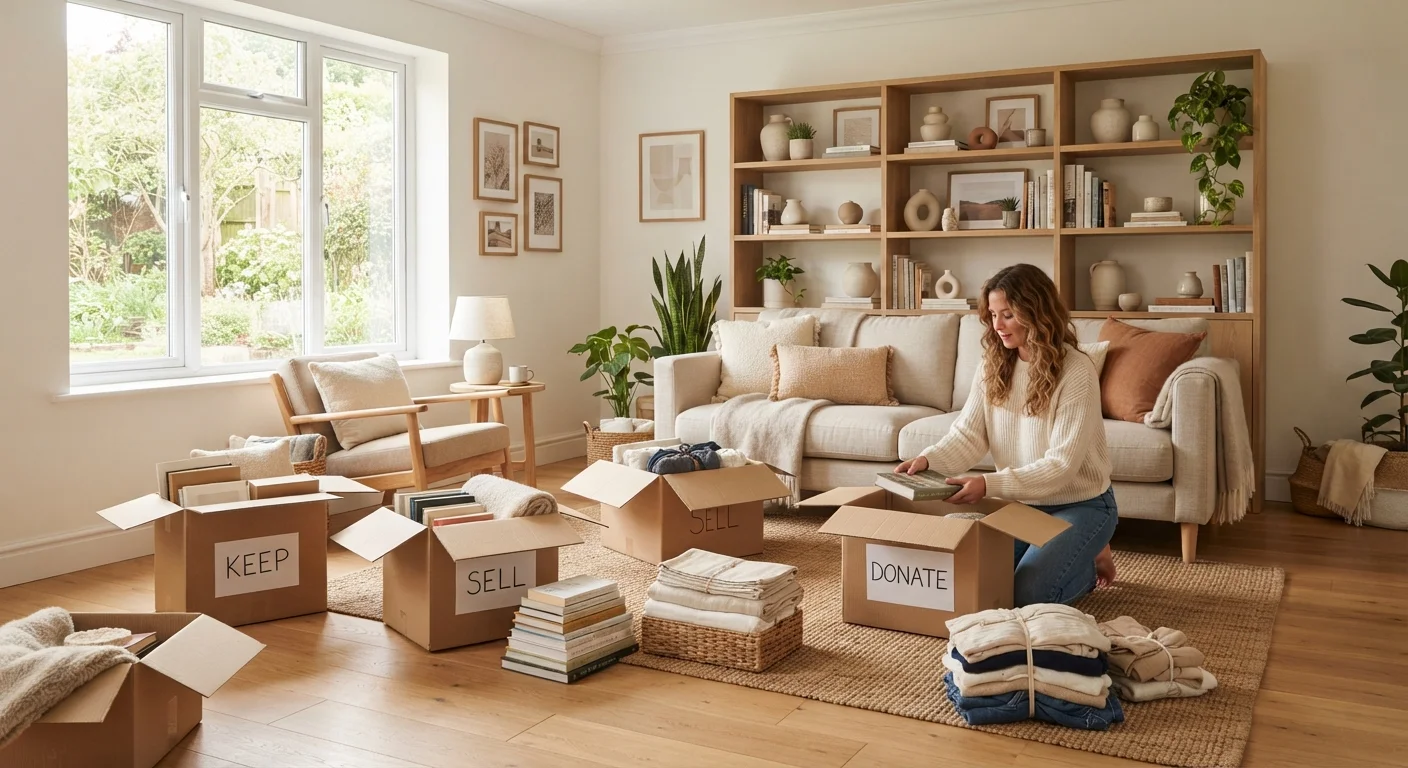
Sort into three categories: keep, donate, and discard
For each item, make one decision: keep it, donate or sell it, or discard it. Avoid a fourth 'maybe' pile; it tends to become a permanent holding zone. A useful question to ask is whether the item has been used in the past year and whether it would be worth repurchasing if lost.
Once you have a donate pile, sorting discarded items the right way walks through how to responsibly route items to donation centers, recycling, or proper disposal.
Return only the 'keep' items to the space
Before putting anything back, wipe down shelves and the inside of drawers. Then return items in a way that reflects how you actually use them: frequently used things go in the most accessible spots, rarely used things go higher or further back.
Resist the urge to buy storage containers at this stage. Once you know exactly what you are keeping, you will have a much clearer sense of what storage, if any, you actually need.
Move donation and discard bags out of the home immediately
Do not leave donation bags sitting in a corner. Get them into your car or outside the door the same day. Items that stay in the house have a way of migrating back to shelves and drawers.
Schedule a drop-off trip within 48 hours. The sooner those items leave, the more lasting the result.
Repeat the process in the next room
Once one room is finished, use that momentum to start the next. High-traffic areas like kitchens and entryways tend to have the most visible impact. Tackling them after an easier win means you approach the harder spaces with a clearer method.
As you work through the house, you may find that certain zones keep accumulating clutter. Assigning a purpose to each area of your home can reduce the friction of keeping things tidy once the initial declutter is done.
Start with the easiest decisions
Expired food, broken items, and things with missing parts are almost always safe to discard without deliberation. Clearing these obvious cases first builds momentum and reduces the number of harder judgment calls you face in a single session.
After you have finished all rooms, the work shifts from clearing to maintaining. Maintaining an organized home over the long term covers the habits that prevent clutter from returning gradually.
If children are part of your household, the strategies that work in adult-only spaces often need adjustment. Organizing a home when you have kids addresses toys, craft supplies, and the practicalities of family spaces.