

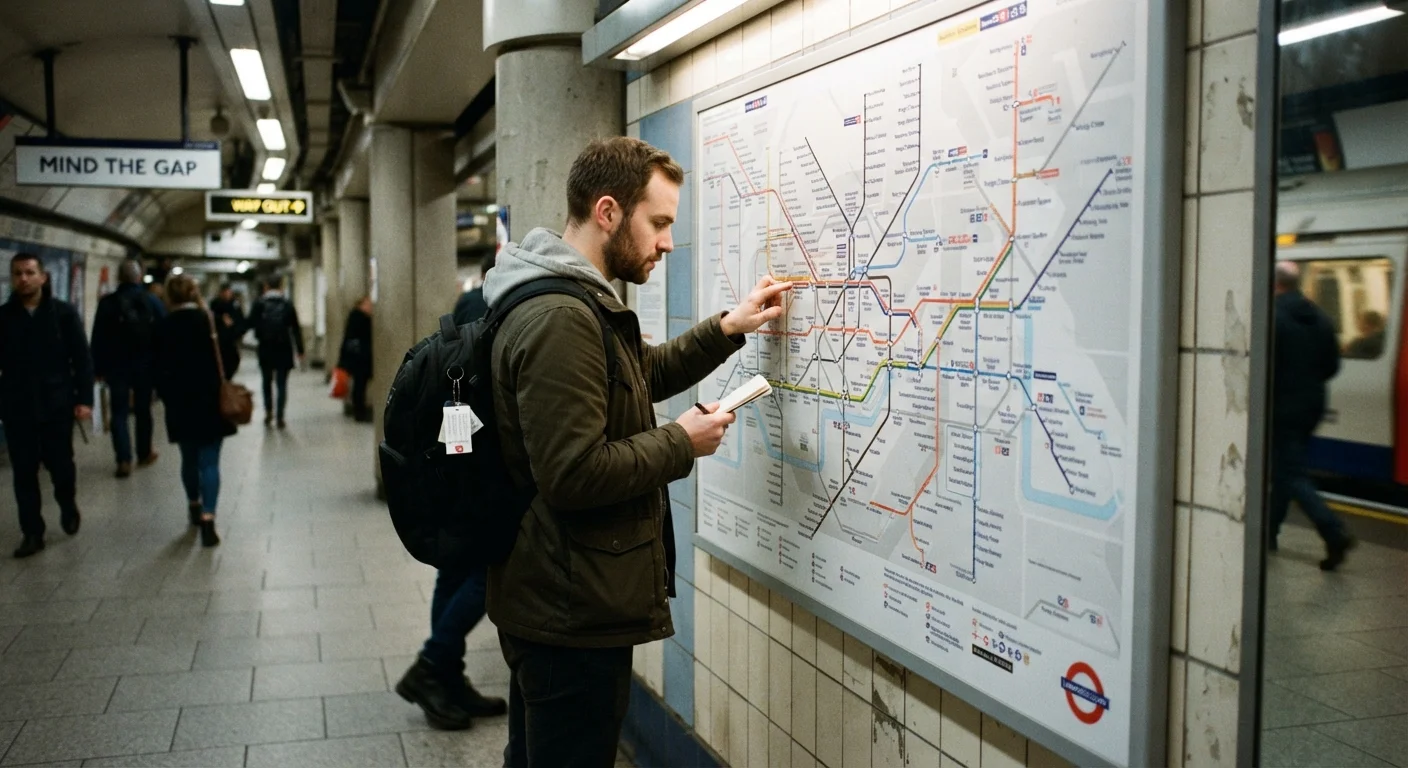
Key Takeaways
- Most transit systems worldwide share the same core visual logic: colored lines, numbered stops, and terminus labels.
- Finding the system map before you board saves significant confusion once you are on the platform.
- Fare zones and transfer rules vary widely; check them before you tap or buy a ticket.
- Direction on a transit line is almost always named after the last stop in that direction.
- Offline maps and screenshots protect you when cell service disappears underground.
What you will need
Why most systems are easier to read than they look
Public transit maps can appear overwhelming at first glance, especially in large cities with overlapping rail, bus, and ferry networks. The reassuring fact is that most systems, regardless of country or language, follow conventions that have been standardized for decades. Lines get colors and numbers. Stations get names. Interchanges get marked with a circle or a star. Once you recognize those patterns, an unfamiliar network becomes much more readable.
If you already know how to orient yourself in a new city, transit reading is a natural extension of that skill. The guide to navigating a new city without getting lost covers the broader orientation picture; this article focuses specifically on decoding the transit system itself.
Start with the map legend
Every transit map has a legend or key, sometimes tucked into a corner, that explains its symbols. A few minutes with the legend before you study the routes tells you what the interchange circles, the dotted lines, and the accessibility icons actually mean. This one step prevents a lot of misreading.
Step-by-step: reading the system from scratch
Work through these steps in order. The first few take only a couple of minutes, and they prevent most of the errors travelers make on unfamiliar networks.
Get the full system map before you need it
Download or screenshot the official transit authority map while you still have reliable internet access. A PDF from the transit authority's website is preferable to a third-party image because it includes fare zone boundaries, accessibility symbols, and service notes. If you are traveling internationally, look for a map with both local-language and English stop names.
Identify the line structure
Count the lines on the map and note how they are labeled. Most systems use color alone, a letter or number alone, or a color-plus-number combination (for example, the M4 or the Red Line). Find your starting station and your destination station and locate which lines connect them, including any transfers.
Determine your direction of travel
Transit directions are almost universally named after the last stop on that branch of the line, not after compass points. If you are at a middle station and need to travel toward the city center, find which terminus is in that direction and use that name to choose your platform. Look at the map, count the stops between you and your destination, and note one or two stop names before yours as checkpoints.
Understand the fare system before you pay
Transit fare structures fall into a few categories: flat fare (one price regardless of distance), zone-based (price depends on how many zones you cross), and time-based (price depends on travel duration). Tap-to-pay card systems may charge automatically based on your entry and exit points. If you are unsure, purchasing a day pass is often simpler than calculating a per-trip fare, though this is a practical consideration rather than a guaranteed saving.
Board and verify your stop count
Once on board, check whether the vehicle has a digital display or audio announcements for upcoming stops. Count stops from your boarding point to your destination. If the vehicle has no displays, follow along on your map. When in doubt about whether you are on the right train, confirm with a station agent or fellow passenger before the doors close.
Handle transfers cleanly
A transfer means exiting one line and boarding another. Follow the interchange symbols on the map to find the connecting platform. Inside the station, signs for transfers typically use the line color or number you are looking for. Keep your ticket or card accessible because some systems require you to re-tap or re-validate at the transfer point. Budget extra time for transfers; interchange stations in large cities can involve several minutes of walking between platforms.
Common pitfalls and how to avoid them
A few recurring problems catch travelers off guard even after they have read the map carefully.
Fare zones: Many systems charge by distance, not by number of trips. Buying a single flat-fare ticket when you are crossing into a second zone means you can be asked to pay extra or exit and re-enter. Check the zone map before purchasing.
Peak vs. off-peak service: Frequency on some lines drops sharply in the evenings or on weekends. A line that runs every four minutes at midday may run every twenty minutes at 9 p.m. Look for the service frequency note, usually printed in a corner of the map or posted on the platform.
Terminus confusion: Two trains on the same line can share a stretch of track but split off toward different final stops. If you board the wrong branch, you will travel in roughly the right direction for several stops before diverging. Always confirm the terminus name on the front of the vehicle matches what you identified on the map.
Transit signage shares more in common with airport wayfinding than most travelers expect. The reference guide to airport codes and signage explains symbol-based navigation logic that transfers directly to transit environments.
Verify schedules and rules with official sources
Transit schedules, fare rules, and network layouts change. Always confirm current information with the official transit authority for your destination before traveling. This article explains general conventions; it cannot reflect recent changes to any specific network.