

Key Takeaways
- Two to three inches of mulch retains moisture, moderates soil temperature, and suppresses weeds simultaneously.
- Organic mulches break down over time and add nutrients to the soil, while inorganic mulches last longer but offer no fertility benefit.
- Pulling mulch away from plant stems and tree trunks prevents rot and disease.
- The best time to apply mulch is after the soil has warmed in spring or before the first frost in fall.
- Refreshing mulch once or twice a year maintains its effectiveness as the layer compresses and breaks down.
What mulch actually does underground
Mulch is any material spread over soil to modify the conditions at and just below the surface. The benefits are physical, not chemical. A two- to three-inch layer slows evaporation from the soil, which means plants need less frequent watering. It also buffers soil temperature, keeping roots cooler during summer heat and warmer when cold snaps arrive in fall.
Weed seeds need light to germinate. A solid layer of mulch blocks that light, so far fewer weeds establish. Those that do push through are easier to pull because the soil beneath stays loose and moist rather than dry and compacted.
Organic mulches, such as shredded bark, wood chips, straw, and leaf mold, decompose gradually. That decomposition feeds soil organisms, which in turn improve soil structure. This connects directly to the kind of long-term soil health described in our guide to building better garden soil over time.
Choosing the right type of mulch
Mulch falls into two categories: organic and inorganic. Each has specific uses.
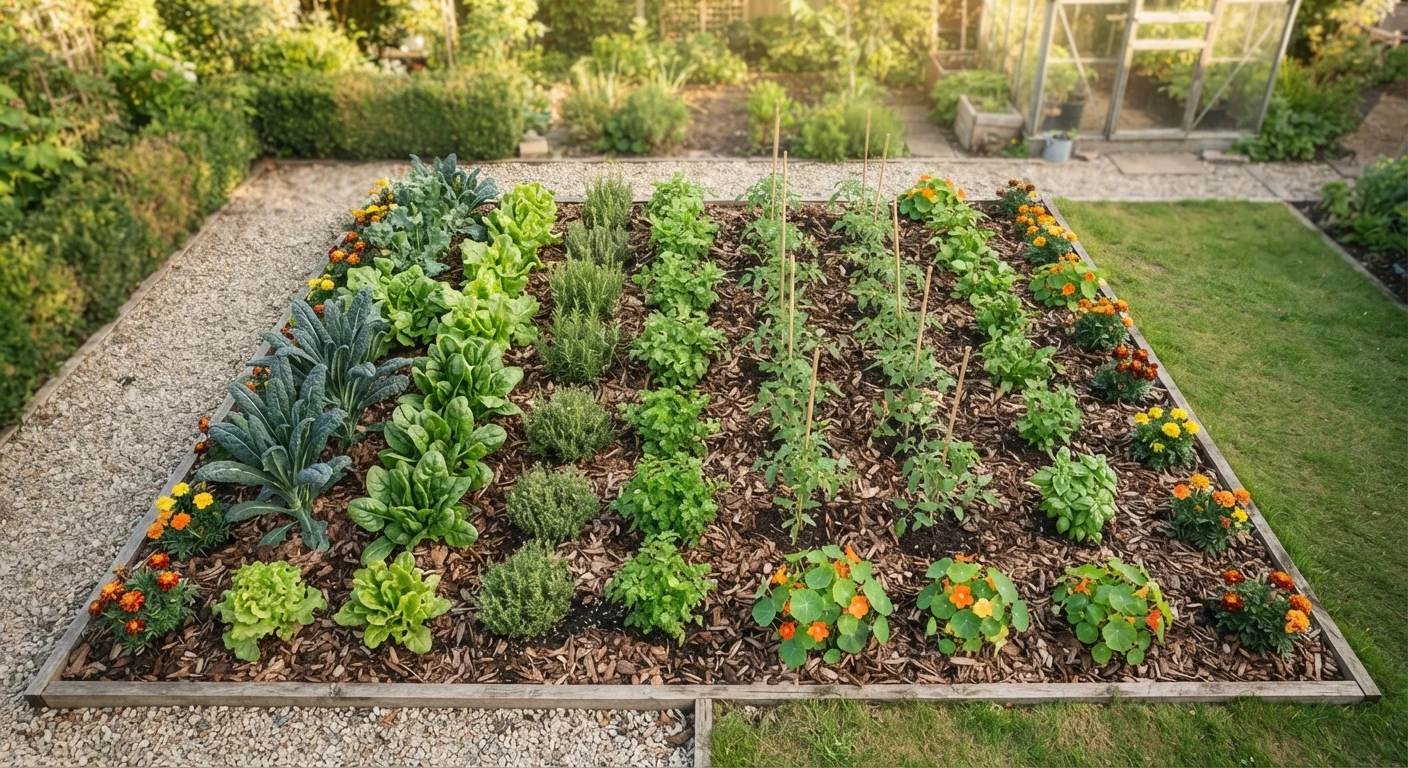
Organic options include wood chips, shredded bark, pine needles, straw, grass clippings, and composted leaves. These break down over one to three seasons depending on the material, improving soil as they do. Wood chips work well around trees and shrubs. Straw suits vegetable beds because it is loose, breaks down in a single season, and can be turned into the soil at the end of the year.
Inorganic options include gravel, crushed stone, and landscape fabric. These do not feed the soil, but they last for years with little maintenance. Gravel works around drought-tolerant plants and in paths where organic material would be inconvenient. Landscape fabric on its own, without a layer of mulch on top, breaks down in UV light and can trap debris over time.
Fresh, uncomposted wood chips can temporarily tie up nitrogen in the soil as they begin to break down. This is mostly a concern in annual vegetable beds. For those areas, aged wood chips or straw are safer choices. Our article on common garden myths addresses some of the misconceptions around wood chip use.
Apply mulch two to three inches deep across all garden beds
This depth consistently reduces moisture loss, moderates soil temperature, and prevents most weed seeds from germinating. Shallower layers lose effectiveness within weeks; deeper layers can suffocate roots.
Keep mulch pulled back two to three inches from plant stems and tree trunks
Continuous moisture against bark encourages fungal rot and can provide cover for rodents that gnaw on trunks. This gap allows the base of the plant to dry out normally between rain events.
Match mulch type to the planting area
Different plants and beds have different needs. Using the wrong material can create nitrogen deficiencies in annual beds or poor drainage in low-lying areas.
Refresh the mulch layer when it drops below one inch
As organic mulch breaks down, the layer thins and loses its ability to block light and retain moisture. Topdressing before it disappears entirely is more efficient than stripping and replacing.
Water soil before mulching if it is dry
Mulch seals in whatever moisture is present at application. Spreading it over dry soil locks that dryness in and can make it harder for subsequent rain to penetrate if the layer mats.
How to apply mulch correctly
Depth matters. Less than two inches leaves gaps where weeds can germinate and where moisture escapes quickly. More than four inches can prevent rainfall and irrigation water from reaching roots, and it can also create a habitat for slugs and rodents.
The most common application mistake is piling mulch against plant stems or tree trunks, sometimes called a mulch volcano. Bark and stems held in constant contact with moist organic material rot. Pull mulch back two to three inches from any stem, trunk, or crown. Around trees, spread the mulch in a flat ring extending out to the drip line if possible.
Before applying mulch, remove existing weeds. If the soil is dry, water it first so you are locking in moisture rather than locking out rain. Spread the mulch evenly and rake it level. Avoid layering multiple types on top of each other, as this can mat and block water penetration.
Mulching also complements consistent watering habits. If you are working on irrigation timing alongside your mulching plan, common watering mistakes to avoid is worth reading alongside this guide.
When to apply and refresh mulch
Spring and fall are the two main mulching windows. In spring, wait until the soil has warmed. Mulching over cold, wet soil traps the cold in and slows root activity at the start of the season. In fall, apply mulch after the first light frost to insulate perennial roots through winter without encouraging new tender growth late in the season.
Existing mulch compresses and decomposes over time. Check depth in early spring. If the layer has dropped below one inch, top it up rather than removing and replacing. In most gardens, a single topdressing each year is enough. Vegetable beds that get turned in fall may need a fresh application each spring.
Before adding new mulch to an established bed, rake the old layer lightly to break up any crust that has formed on its surface. A crusted layer sheds water rather than absorbing it, which defeats the purpose. Understanding how your soil behaves under mulch is easier when you also know the difference between the soil products you might be amending it with; our breakdown of garden soil, potting mix, and topsoil covers that ground.