

Key Takeaways
- Sealing air leaks around doors and windows is one of the most cost-effective weatherization steps.
- Exposed pipes in unheated spaces need insulation before temperatures drop below freezing.
- Gutters should be clear of debris so meltwater drains away from the foundation.
- A heating system inspection by a licensed technician is worth scheduling before peak demand season.
- Outdoor faucets and irrigation lines must be drained and shut off before the first hard frost.
- Permits or licensed contractors are required for any work involving gas lines or electrical systems.
Summary
18 items · 2 to 4 hours spread across a weekend
Why weatherization matters before cold sets in
Winterizing a home is not about one dramatic fix. It is a series of small, well-timed tasks that together reduce heat loss, protect plumbing, and prevent water damage from ice and snow. Skipping even one area, such as an uninsulated pipe in a crawl space, can lead to repairs that cost far more than the original prevention would have.
This walkthrough organizes pre-winter tasks by area of the home. Work through each group at your own pace. Some items take minutes; others, like scheduling a furnace inspection, require lead time because technicians book up quickly as the season turns.
For anything involving gas connections, electrical panels, or structural work, contact a licensed contractor. Local building codes may also require permits for certain upgrades. Check with your municipality before starting insulation, venting, or heating system work.
Gas and electrical work requires a licensed professional
Tasks in this checklist are limited to work a homeowner can safely perform without specialized training. Any task involving gas line connections, gas appliance venting, electrical panel work, or structural modifications must be handled by a licensed contractor. Check with your local building department about permit requirements before starting insulation or heating system upgrades.
The full pre-winter checklist
Use the checklist below to track your progress. Items marked must address safety or high-damage-risk issues. Items marked should are strongly recommended for comfort and efficiency. Items marked nice to have improve performance but can be deferred if time or budget is limited.
Heating system
Plumbing and water
Exterior and drainage
Doors, windows, and insulation
Safety and emergency readiness
For a deeper look at pipe protection and shutoff valve locations, see this plumbing maintenance overview. If your fall garden cleanup is still pending, seasonal garden prep by time of year covers what to do with beds, bulbs, and perennials before the ground freezes.
Doors, windows, and air sealing
Air leaks are responsible for a significant share of heat loss in most homes. A simple test: hold a lit incense stick near door frames, window edges, electrical outlets on exterior walls, and attic hatches on a cold or windy day. Smoke that wavers or gets pulled inward signals a leak.
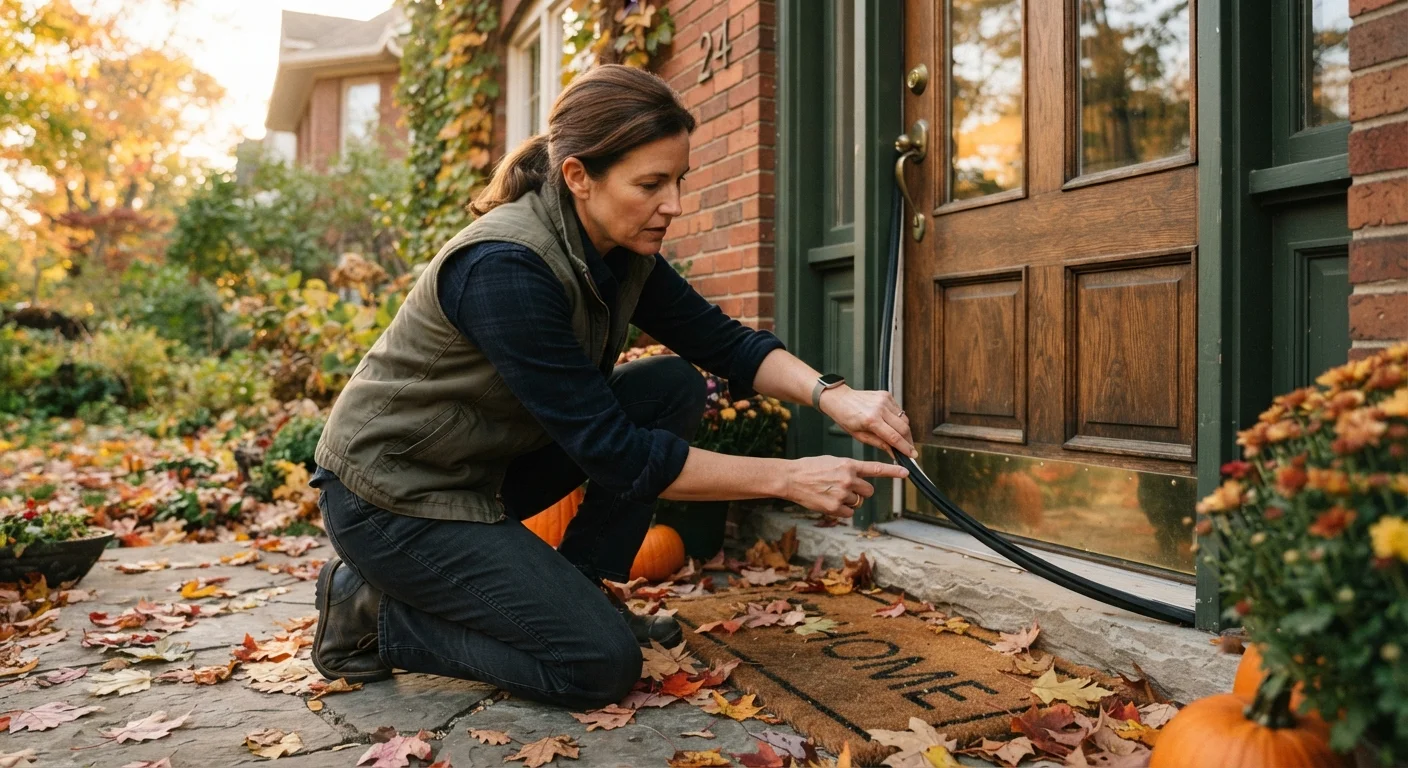
Weatherstripping on doors compresses over time and eventually stops forming a seal. If you can see daylight around a closed door, or feel cold air at floor level, the stripping needs replacement. Common weatherstripping mistakes include choosing the wrong profile for the door type and applying new material over a dirty or painted surface, both of which cause early failure.
Window film kits add an inexpensive secondary barrier to single-pane windows or older double-pane units that have lost their gas fill. These are removable in spring and require no tools beyond a hair dryer.
Do not apply caulk over painted or damp surfaces
Caulk bonds to clean, dry material. Applying it over old paint, loose debris, or damp surfaces causes it to peel within one season. Remove old caulk with a plastic scraper, wipe the area clean, and let it dry fully before applying a new bead.
What to have on hand
Most of the tasks in this checklist require basic supplies you can gather before you start. Having everything ready avoids interruptions mid-task.
Foam pipe insulation
Wraps exposed pipes in crawl spaces and garages to prevent freezing.
Weatherstripping (V-strip or door-bottom sweep)
Seals the gap around exterior door frames where drafts enter.
Exterior-grade caulk
Fills gaps around window frames, utility penetrations, and foundation sill plates.
Furnace filter (correct size for your unit)
Replaces the existing filter to maintain proper airflow through the heating system.
Incense sticks or smoke pencil
Used to detect air leaks around doors, windows, and outlet boxes.
Gutter scoop and garden hose
Clears leaf and debris buildup from gutters before it freezes in place.
Ladder (appropriate height for your gutters)
Provides safe access to gutters and lower roof edges.
Pipe heat tape (self-regulating type)
Wraps pipes in unheated spaces where foam insulation alone may not be enough in very cold climates.
Budget-conscious homeowners may want to connect these one-time weatherization costs to a broader savings plan. The Saving and Goals hub has guidance on setting aside funds for home maintenance alongside other financial priorities.