

Key Takeaways
- Using the wrong weatherstripping material for the door or window type is the most common starting mistake.
- Skipping surface cleaning before installation causes adhesive failure within weeks.
- Applying weatherstripping to a warped or misaligned frame will not produce an airtight seal.
- Compressing foam too tightly reduces its lifespan and sealing ability faster than normal wear.
- Weatherstripping and caulk solve different problems; using one in place of the other leaves gaps.
Why weatherstripping fails sooner than it should
Weatherstripping is one of the more straightforward home maintenance tasks, yet it fails early on a surprising number of doors and windows. The materials are inexpensive and widely available. The installation does not require specialized tools. Still, drafts return within a season in many homes because a few consistent errors undermine what should be a long-lasting fix.
Most failures trace back to decisions made before the first strip goes on, not problems with the product itself. Understanding what goes wrong, and why, makes the difference between a seal that lasts years and one that peels away by spring. For a broader look at what to tackle before cold weather arrives, see the home weatherization walkthrough.
Choosing the wrong type of weatherstripping for the application.
Why it happens: Hardware stores carry foam tape, V-strip, door sweeps, tubular rubber, and felt, and packaging rarely specifies which door or window position each suits.
Skipping surface cleaning before applying adhesive-backed weatherstripping.
Why it happens: The surface looks clean enough, so the extra step seems unnecessary.
Applying weatherstripping to a warped or misaligned door frame.
Why it happens: A warped frame is easy to miss when the door closes without obvious sticking.
Compressing foam weatherstripping too tightly against the door.
Why it happens: Homeowners assume more compression means a better seal.
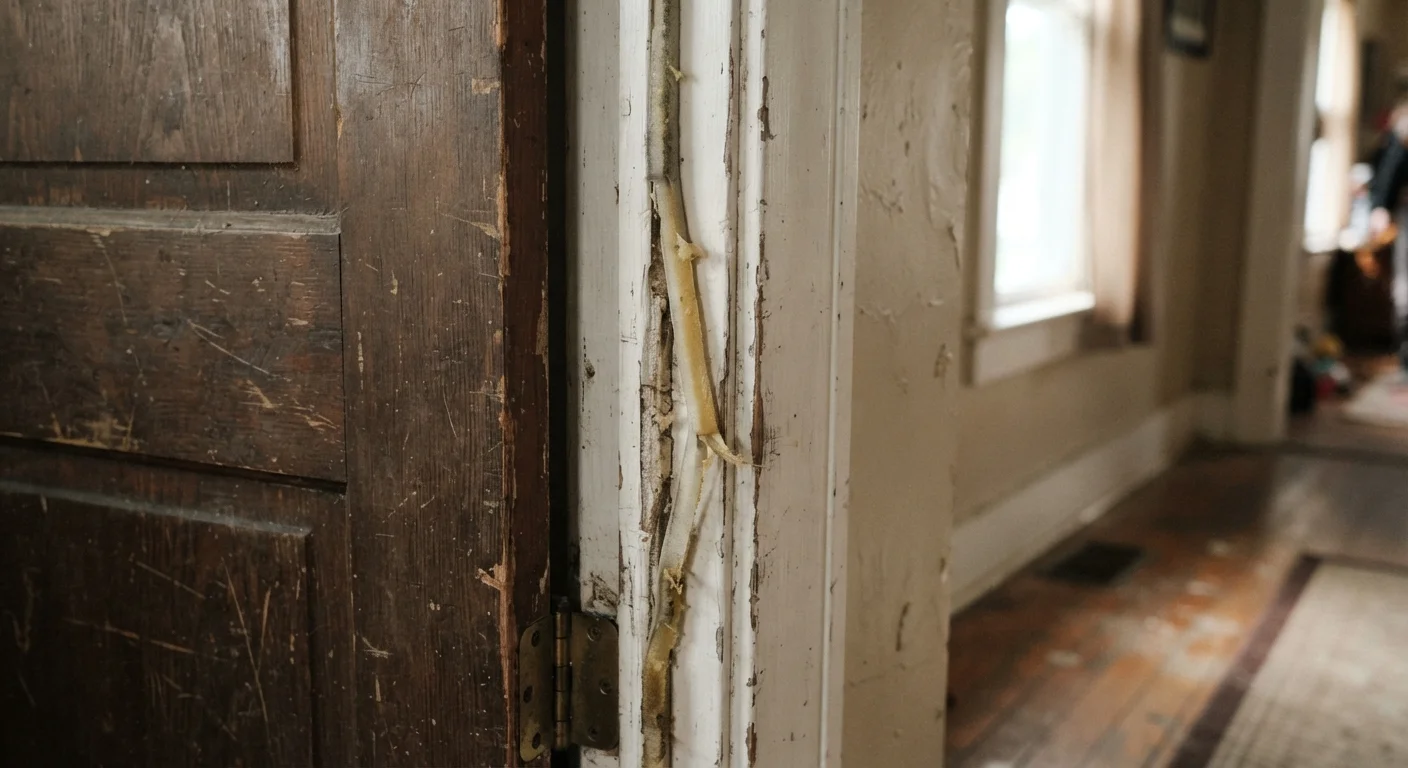
Leaving old, partially attached weatherstripping in place and applying new material over it.
Why it happens: Removing old strips is time-consuming, and the new strip seems to cover the problem.
Getting the installation right the first time
Once the right material is chosen and the surface is properly prepared, installation comes down to a few consistent habits. Press adhesive-backed foam or V-strip firmly and evenly along its full length without stretching it. Stretching causes the strip to pull away from corners and edges as the adhesive relaxes. Cut pieces to fit cleanly at corners rather than bending one continuous strip around them.
Test the door or window before the adhesive fully cures by closing it slowly and checking for resistance along the full perimeter. Light should not be visible through any section of the frame. If a gap remains on one side only, the door may need adjustment at the hinges rather than more weatherstripping. Weatherstripping cannot compensate for a frame that is out of square. For related prep principles, the same logic that applies to surface preparation for interior painting holds here: condition of the substrate determines how well any applied material performs.
Weatherstripping and caulk work together but address different gaps. Weatherstripping seals moving parts; caulk fills static gaps between fixed surfaces. Confusing the two, or skipping caulk on the surrounding frame while relying solely on door weatherstripping, leaves air pathways that neither product alone can close. The guide to caulking windows and doors covers when each approach applies and when to bring in a professional.
Check for frame damage before sealing
Rotted or structurally damaged door and window frames should be repaired before any weatherstripping is installed. Sealing over rot traps moisture and allows decay to continue unseen. If you notice soft wood, discoloration, or visible deterioration around the frame, have a qualified contractor assess the extent of the damage first.