

Key Takeaways
- Decluttering before organizing prevents you from building systems around items you no longer need.
- Vertical space above and below the standard rod is often the most wasted area in a small closet.
- A second hanging rod can nearly double usable hanging space without any structural changes.
- Consistent container sizes and clear labels cut the time it takes to find and return items.
- Door backs and floor-level corners are commonly overlooked storage zones worth activating.
What you will need
Why small closets fail before you even start organizing
Most small closets fail for two reasons: they hold too many items, and the available space is poorly divided. A single rod at chest height with one shelf above it leaves the entire lower half of the closet unused. Before buying a single bin or hook, you need an honest look at both problems.
Start by reading why organizing before decluttering usually backfires. Sorting items into containers without first removing what you no longer use just makes a smaller mess harder to see. The steps below assume you will declutter first, then build your system around what remains.
Measure your closet before anything else: width, depth, and height. These numbers determine which solutions are worth considering. A reach-in closet that is 24 inches deep has different constraints than one that is 36 inches deep, and treating them the same way wastes money and time.
What you will need
Step-by-step: building a system that holds more
Work through these steps in order. Each one builds on the previous, so skipping ahead can create problems you will need to undo later.
Remove everything and sort into four piles
Pull every item out of the closet and place it somewhere visible, such as the bed or floor. Sort into four groups: keep, donate, discard, and relocate (items that belong in a different part of the home). Do not return anything to the closet until you finish sorting.
Be specific about the "relocate" pile. A winter coat stored in a bedroom closet used primarily for work clothes wastes prime space. Move seasonal and infrequently used items to wherever they genuinely belong.
Sketch the current layout and identify dead zones
With the closet empty, look at the actual structure. Note where the existing rod sits, how high the top shelf is, and how much vertical space sits unused below the rod and above the shelf. In most standard closets, the space below a single rod and the space above a high shelf together account for more than half the total cubic footage.
Sketch a rough diagram and label the dead zones. This becomes your plan for where new rods, shelves, or hooks will go.
Add a second hanging rod for short garments
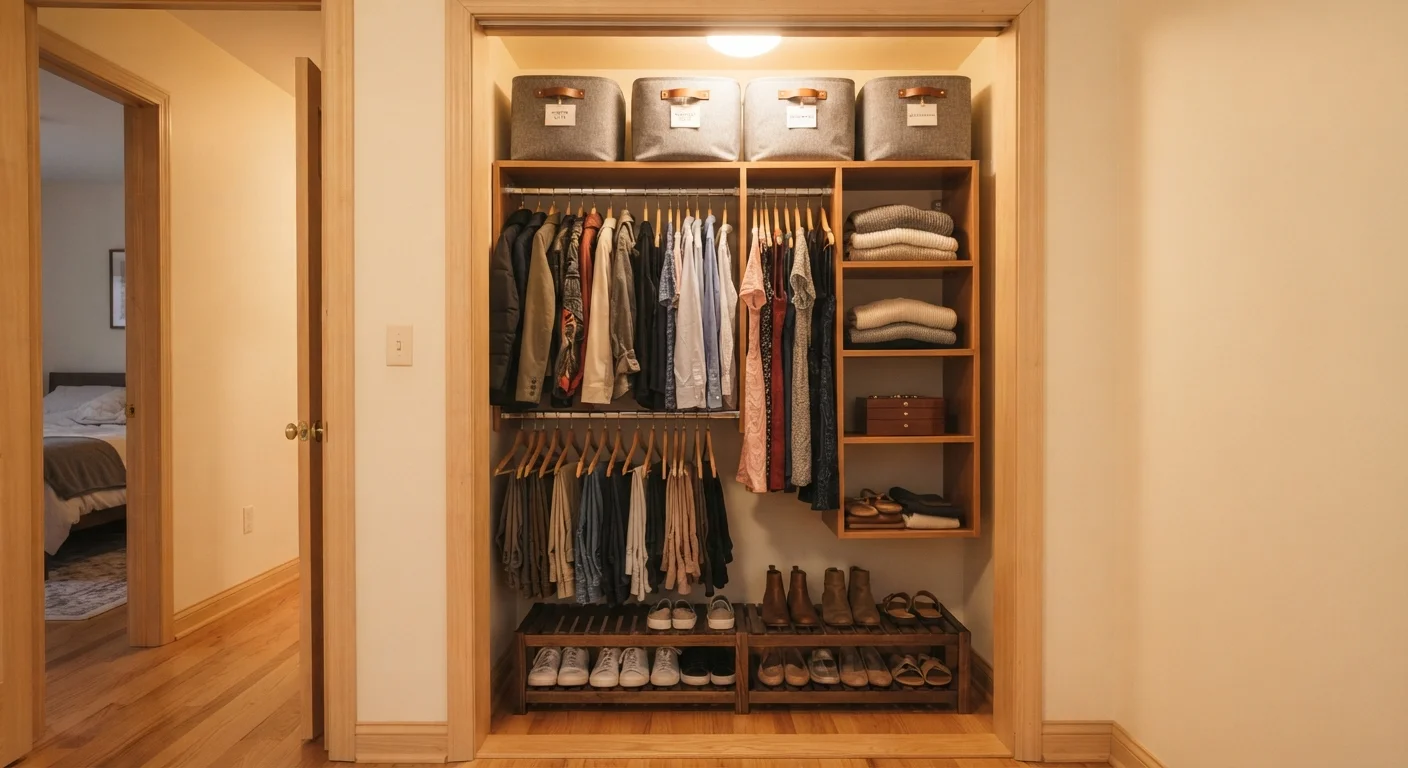
If your closet has one rod running its full width, replace half of it with a double-rod configuration. Short garments like shirts, folded trousers, and jackets hang at roughly half the height of dresses or full-length pants. A rod doubler (a secondary rod that hangs from the existing one) or a reconfigured shelf system creates two tiers of hanging space in the same horizontal footprint.
Reserve one side for long items and convert the other side to double-hang. This single change often doubles hanging capacity in reach-in closets.
Use shelf dividers to manage folded stacks
Folded clothing stacks topple sideways and mix categories quickly without vertical dividers. Clip-on shelf dividers slide onto most standard shelves and create defined sections for sweaters, jeans, or t-shirts. Assign one section per category and keep stacks to a height you can remove the top item from without disturbing the rest.
Activate the door back and floor corners
The back of the closet door is often empty. An over-door organizer with pockets or hooks can hold shoes, belts, scarves, or small accessories without touching any shelf or floor space. Choose one with a low-profile mount so the door can still close fully.
Floor corners, especially in reach-in closets, tend to collect items that fall off hangers. A small shoe rack, a stackable drawer unit, or a narrow basket placed deliberately in each corner turns passive clutter zones into defined storage.
Label containers and return only what belongs
Before returning items to the closet, label every bin and basket. Labels do not need to be elaborate: a strip of tape and a marker works. The point is that anyone using the closet, including you in a hurry, can return an item to the right place without guessing.
Return only the items from your "keep" pile. Resist the urge to fill empty space immediately. Open space in a small closet is a feature, not a gap to fill.
Slim hangers recover more space than you expect
Switching from standard plastic hangers to slim velvet hangers can recover three to four inches of rod space in an average closet. That may not sound like much, but in a 36-inch rod it can mean room for four to six additional garments. Velvet also grips fabric, so items stop sliding and bunching at one end.
For ideas on what to do with items you pull out but have no place for, see underutilized spaces in most homes and what you can do with them. Areas like the back of doors, under beds, and staircase niches can absorb overflow without cluttering your main living spaces.
Choosing containers that maintain the system
A well-divided closet can still become chaotic if the containers you choose do not match how you actually use the space. Uniform bin sizes stack more predictably and allow you to reconfigure shelves without buying new storage. Clear bins let you confirm contents without pulling everything down. Opaque baskets work well for items you access infrequently, provided you label them on the front rather than the top.
Matching the right container type to each space covers the differences between bins, baskets, and drawer organizers in more depth. The short version: use what you will consistently put back. A system you skip because it feels inconvenient is not working for you.
If the closet is shared, the container system needs to account for more than one person's habits. Organizing a home with multiple adults offers practical ways to build shared systems that hold up over time without requiring one person to maintain everything.